


This article introduces five different methods to integrate IAMMETER's Wi-Fi energy meters into Home Assistant, one of the most popular open-source home automation platforms. We also showcase real-world applications of these integrations to help users maximize solar usage and save on electricity bills.
MQTT Discovery is now supported starting from firmware version i.76.058.8, released on January 10, 2025.
| No. | Integration Method | Interface | Refresh Interval |
|---|---|---|---|
| 1 | Core Integration | HTTP | 1 min |
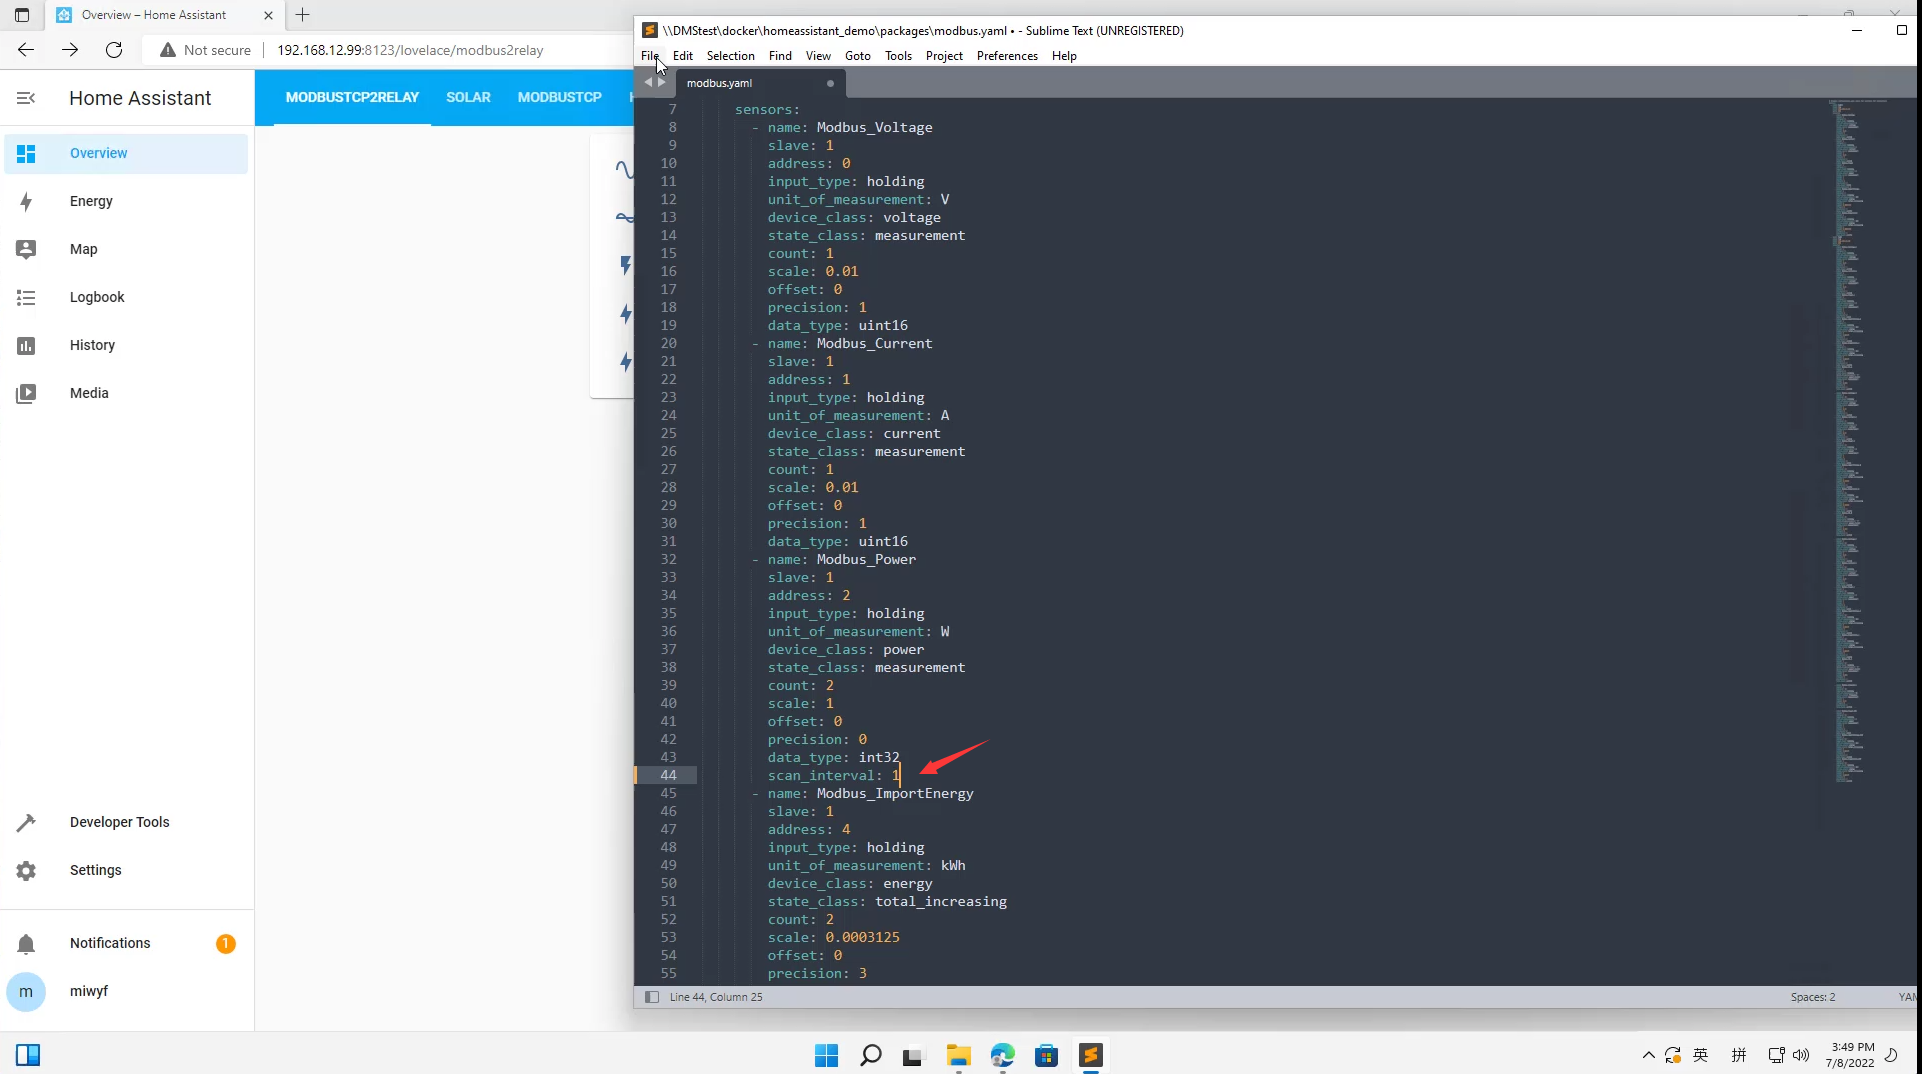
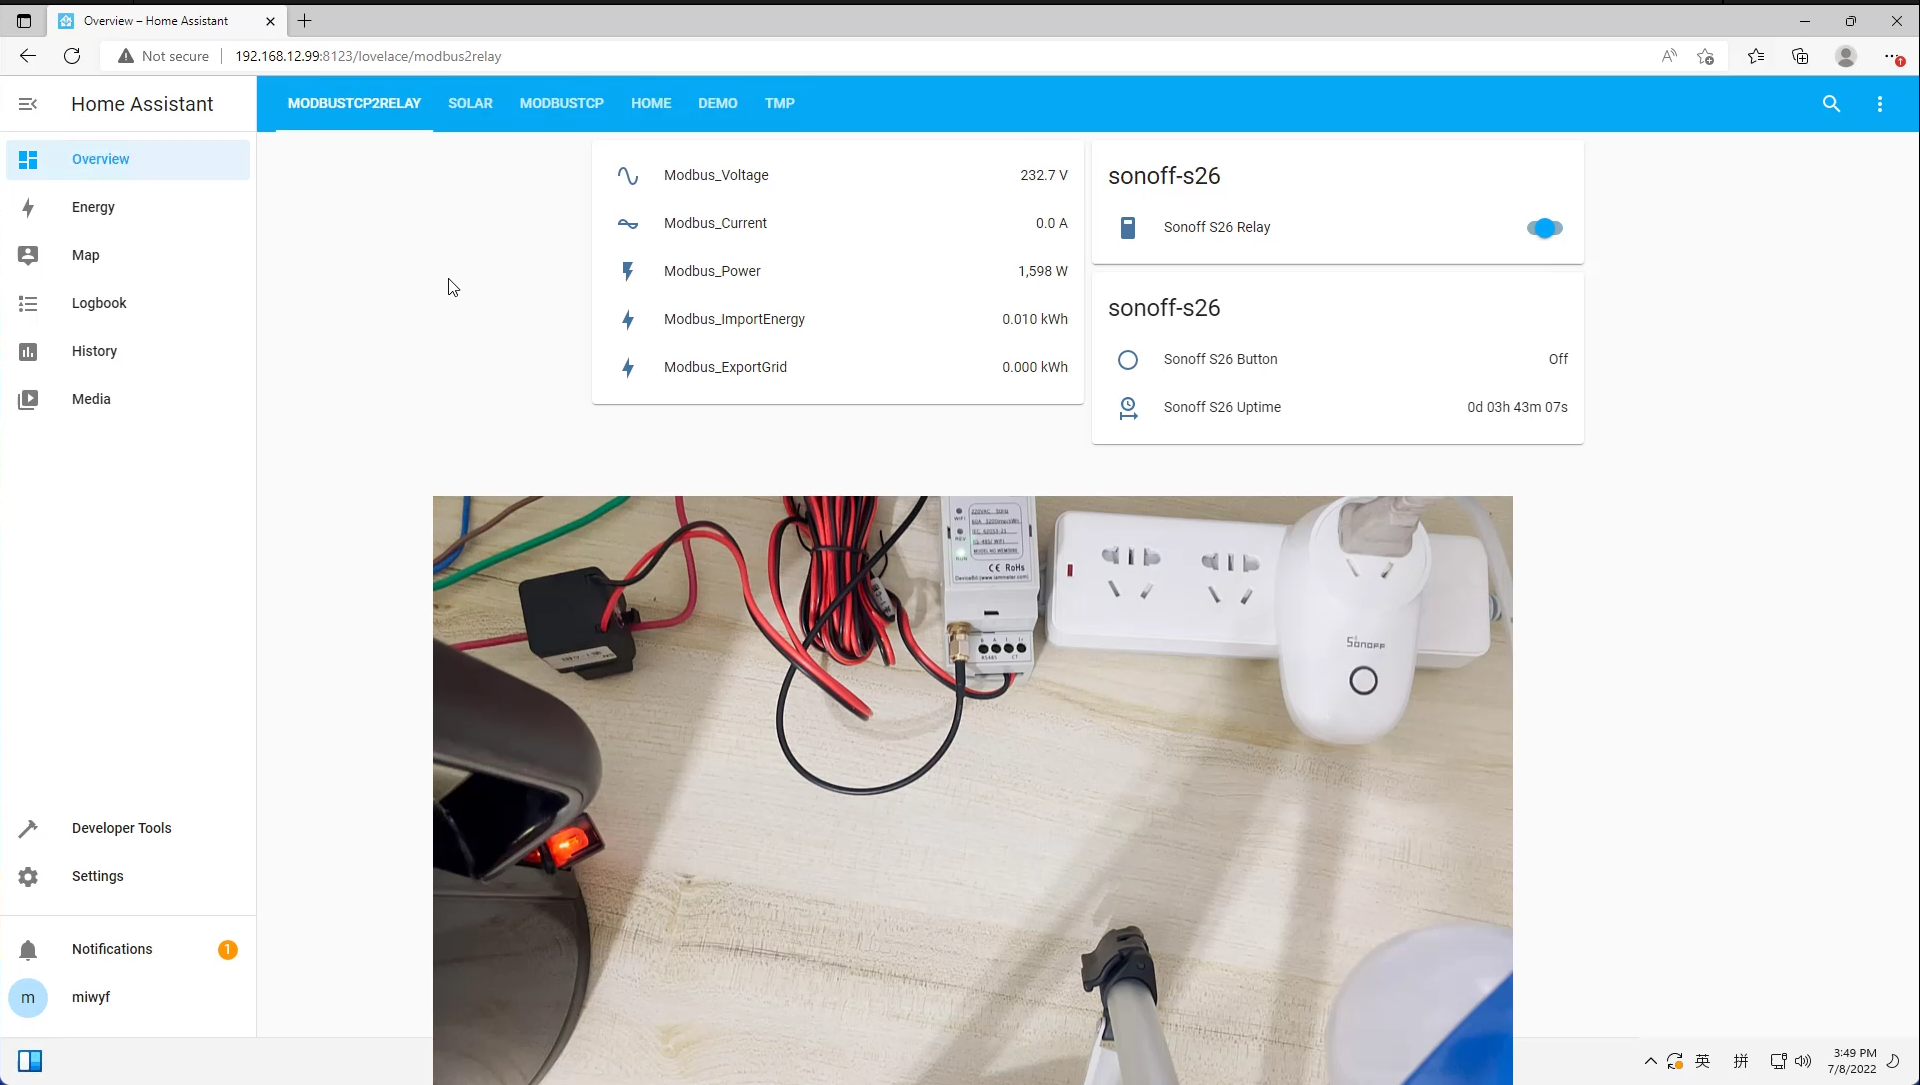
| 2 | Modbus/TCP Sensor | Modbus/TCP | 1 s |
| 3 | MQTT Sensor | MQTT | 12 s |
| 4 | HACS (Custom Integration) | HTTP / Modbus/TCP | 1 min (HTTP), 1 s (Modbus) |
| 5 | MQTT Discovery | MQTT | 6 s |
IAMMETER's energy meters are natively supported in Home Assistant.
Pros:
Cons:
Ideal for users needing high-frequency real-time data (up to 1 reading per second). Great for automation and control loops.
Pros:
Cons:
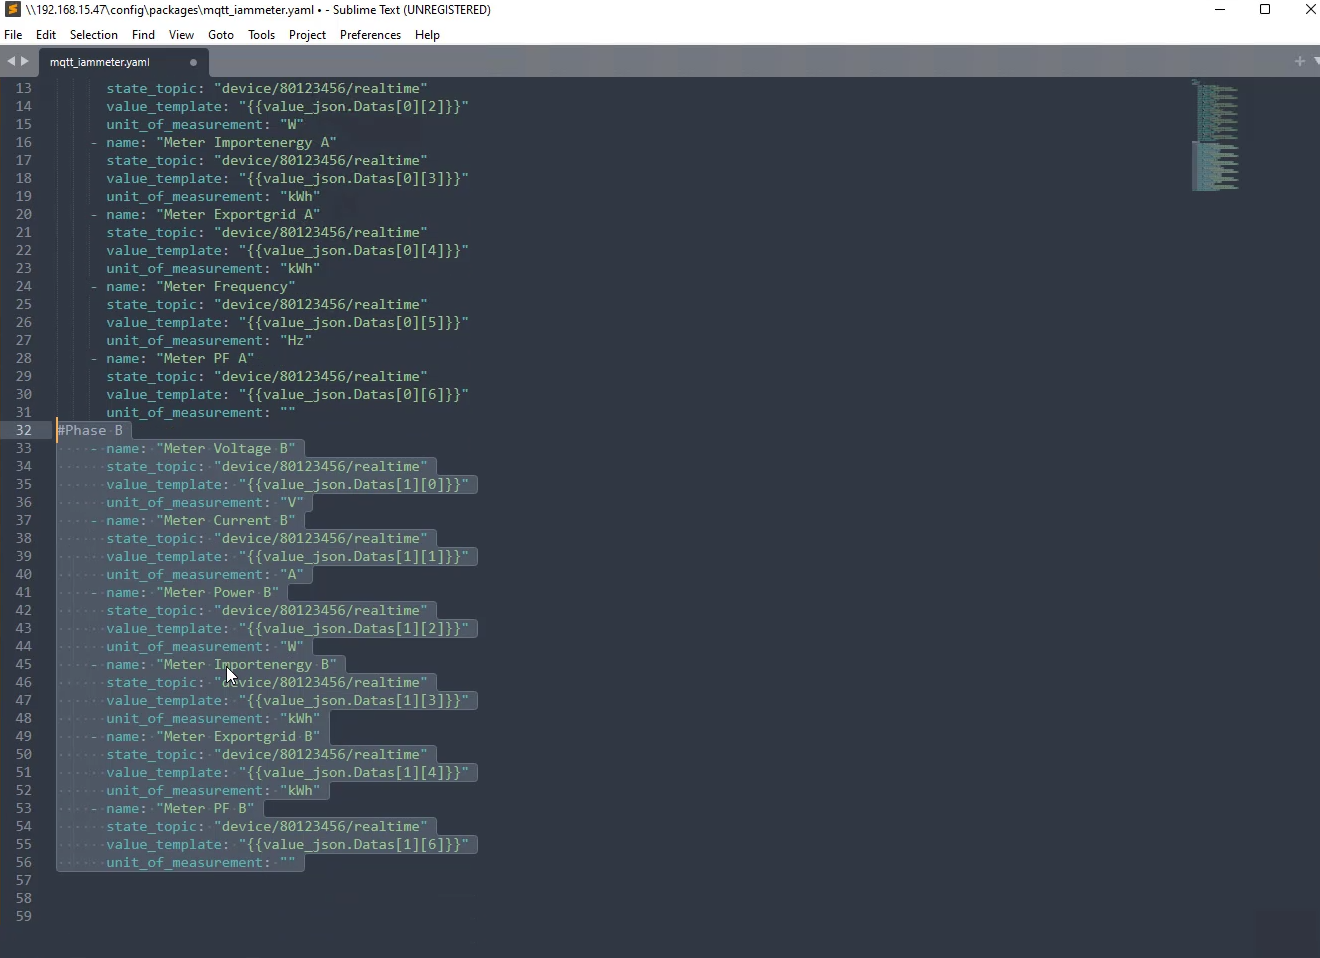
A flexible MQTT-based integration option that supports user/password authentication.
Pros:
Cons:
To overcome limitations in the core integration, IAMMETER provides a HACS-compatible custom integration.
Pros:
Cons:
MQTT Discovery allows Home Assistant to auto-detect devices with minimal configuration.
Recommended for seamless and fast MQTT-based integration with IAMMETER’s latest firmware.
The five methods above focus on one direction: integrating IAMMETER hardware meters into Home Assistant.
There is now also a related Home Assistant solution for the reverse direction: if your meter, inverter, or other energy device is already integrated in Home Assistant, you can upload that data to IAMMETER Cloud through IAMMETER-Link.
IAMMETER-Link is a HACS integration that works as a bridge between Home Assistant and an IAMMETER Virtual Meter.
It does not read data from an IAMMETER hardware meter directly. Instead, it takes existing Home Assistant sensor entities and uploads their values to IAMMETER Cloud through a Virtual Meter.
Typical supported values include:
This is helpful when you already use Home Assistant as the central integration hub for your energy system.
For example:
In this case, IAMMETER-Link lets IAMMETER Cloud use Home Assistant as a compatibility bridge, so the data source is no longer limited to IAMMETER hardware only.
The setup flow is straightforward:
0.One practical example is this: you may already use an IAMMETER three-phase meter to monitor the grid side, while your inverter data is available in Home Assistant through another integration. With IAMMETER-Link, you can send the inverter data from Home Assistant to IAMMETER Cloud as a Virtual Meter, so both grid-side data and inverter-side data can be monitored together in IAMMETER's solar monitoring solution.
So although IAMMETER-Link is not another way to connect IAMMETER hardware to Home Assistant, it is still highly relevant for Home Assistant users because it extends IAMMETER Cloud to work with many more energy devices through Home Assistant.
IAMMETER is committed to helping customers gain deep insights into their electricity consumption, minimize unnecessary energy waste, and ultimately reduce electricity bills.
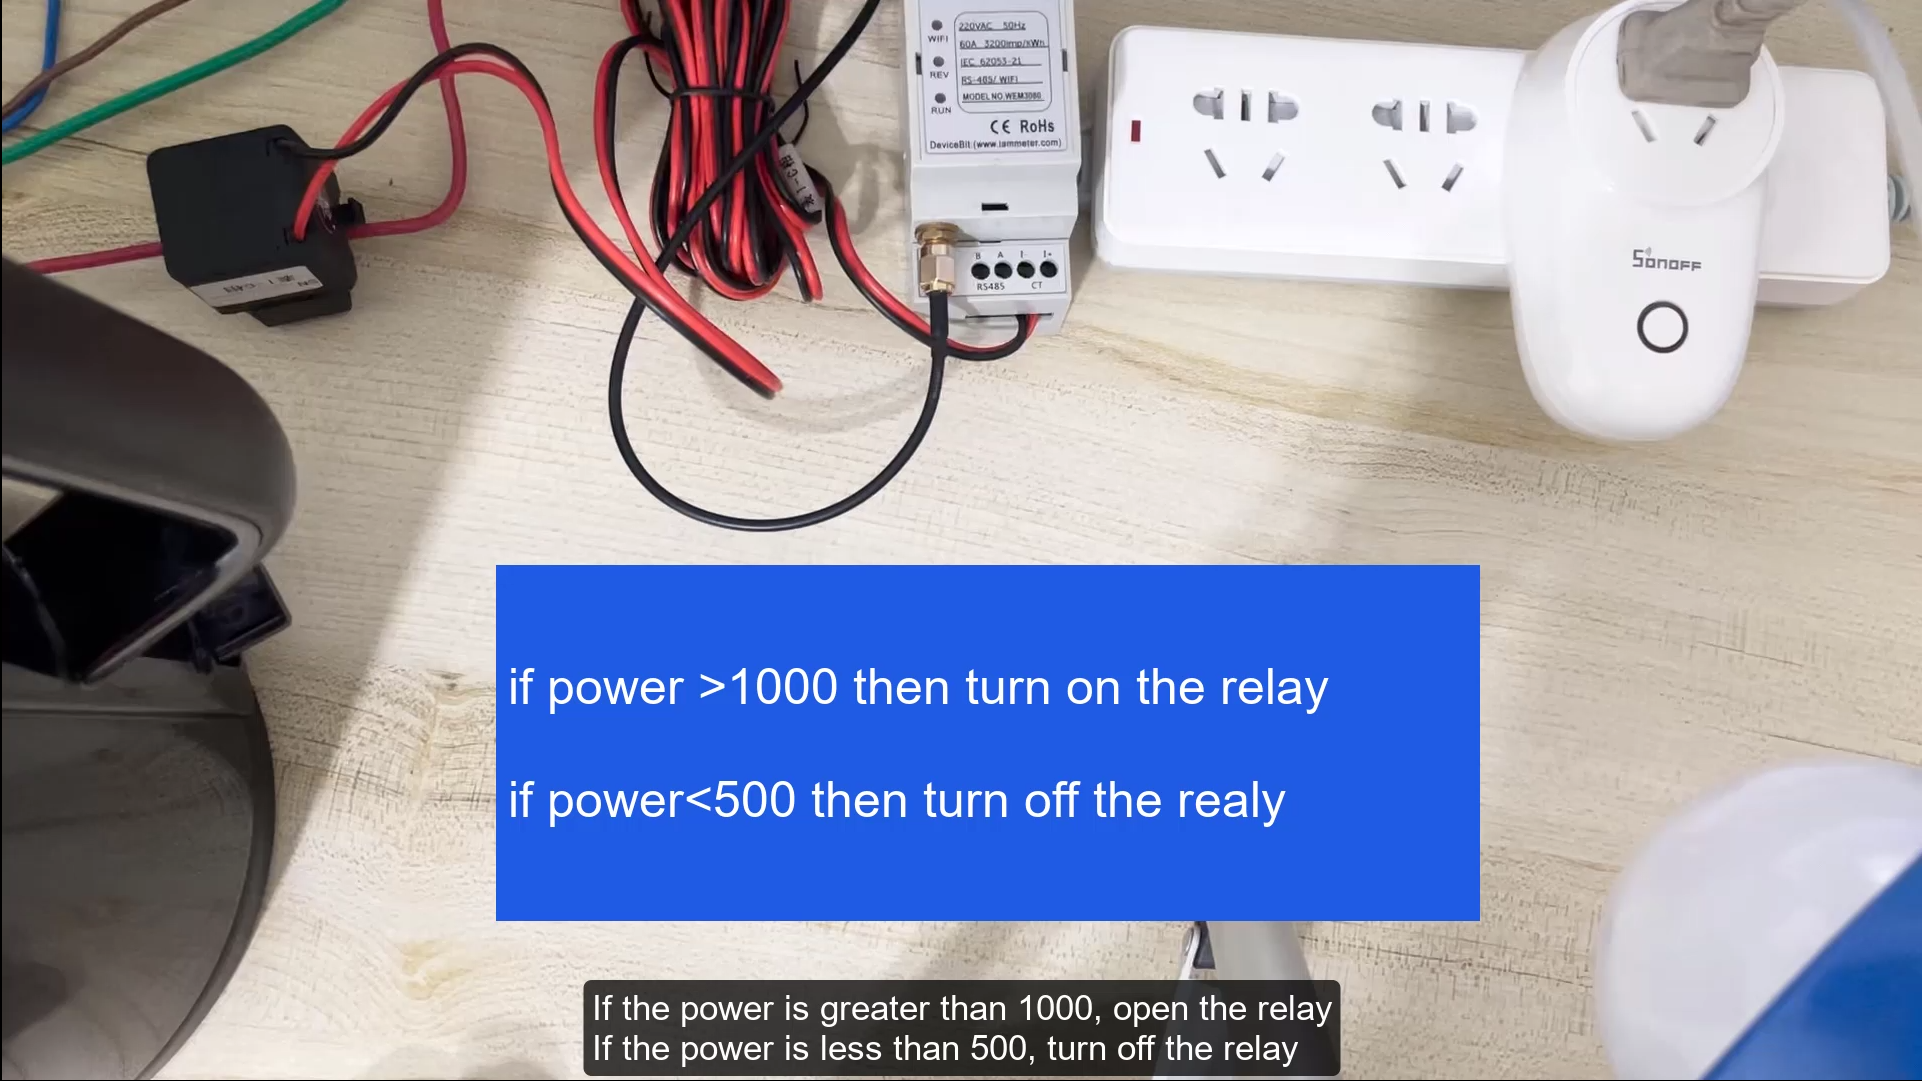
In addition to offering multiple integration methods with Home Assistant, IAMMETER also provides practical application examples that users can easily follow. These include: controlling switches based on grid export power, monitoring solar PV generation and household energy flows, using surplus solar energy to charge electric vehicles, and heating water using solar surplus. The latter can be achieved by combining IAMMETER energy meters with the WPC3700 Wi-Fi Power Controller, which dynamically adjusts the power of the water heater in real-time based on grid power readings from the meter, ensuring optimal use of excess solar energy.
Some featured solutions are listed below:
If you experience any issues while using IAMMETER with Home Assistant, please visit our support forum and let us know. We’re happy to help!

Three Phase Wi-Fi Energy Meter (WEM3080T)

Single Phase Wi-Fi Energy Meter (WEM3080)
")
Three Phase Wi-Fi Energy Meter (WEM3046T)
")
Three Phase Wi-Fi Energy Meter (WEM3050T)